11 月 30
joechen工作相關, 網路服務
※※ 因 Fedora 10 與 OpenSIPs 的出現, 此篇文章已不具修改必要性。※※
REF: http://top12345tw.blogspot.com/2008/05/openser.html (better)
REF: http://www.hk-pub.com/forum/archiver/tid-1064603.html
website: http://www.openser.org/
download: http://ftp.upjs.sk/pub/users/sal/Fedora/7/
Files to donwload:
openser-1.2.2-10.fc7.i386.rpm
openser-mysql-1.2.2-10.fc7.i386.rpm
設定檔:
/etc/openser/openser.cfg
/etc/openser/openserctlrc
# vi /etc/openser/openser.cfg
找到以下各行文字, 並移除前頭的井字符號
# loadmodule “mysql.so”
#loadmodule “auth.so”
#loadmodule “auth_db.so”
#modparam(“usrloc”, “db_mode”, 2)
#modparam(“auth_db”, “calculate_ha1”, yes)
#modparam(“auth_db”, “password_column”, “password”)
#if (!www_authorize(“openser.org”, “subscriber”)) {
# www_challenge(“openser.org”, “0”);
# exit;
#};
(以上四行裡的 operser.org 改成你主機的 FDQN)
建立資料庫表單在 MySQL 裡
# vi /usr/sbin/openser_mysql.sh (可以先編輯這個檔案, 裡面包含了可能會使的資訊)
# /usr/sbin/openser_mysql.sh (編輯後就執行它)
可用的參數有:
usage: openser_mysql.sh create
openser_mysql.sh drop (!!entirely deletes tables)
openser_mysql.sh reinit (!!entirely deletes and than re-creates tables
openser_mysql.sh backup (dumps current database to stdout)
openser_mysql.sh restore <file> (restores tables from a file)
openser_mysql.sh copy <new_db> (creates a new db from an existing one)
openser_mysql.sh migrate <old_db> <new_db> (migrates DB from 1.1 to 1.2)
openser_mysql.sh presence (adds the presence related tables)
openser_mysql.sh extra (adds the extra tables – imc,cpl,siptrace,domainpolicy)
openser_mysql.sh serweb (adds the SERWEB specific tables)
建立環境:
export SIP_DOMAIN=your-ip.address (也可以把這行寫到 /etc/profile 裡)
建立一個資料庫給 OpenSER
# /usr/sbin/openser_mysql.sh create (然後會需要你的資料庫管理員的密碼, ex: root 的密碼)
MySQL password for root: xxxxxxxx
設定開機啟動:
chkconfig openser on
手動啟用:
service openser start
紀錄檔管理:
REF: http://www.openser.org/dokuwiki/doku.php/utils:basic-syslog-configuration
# vi openser.cfg
touch /var/log/openser
(選用)安裝管理程式 OpenSER Admin:
REF: http://www.read8.org/20080918/35617/
yum install ruby ruby-libs rubygems
http://sourceforge.net/projects/openseradmin
wget http://nchc.dl.sourceforge.net/sourceforge/openseradmin/openseradmin-0.3.tar.bz2
tar jxvf openseradmin-0.3.tar.bz2
http://lightyror.thegiive.net/2007/06/fedora-7-ruby-on-rails.html
gem i rails -y
gem install rails –include-dependencies
在 /etc/rc.local 裡加入
/var/www/oseradm/script/server -p 3000 -d
(-p 是指定 port , -d 表示以 daemon 執行)
11 月 29
joechen作業系統, 工作相關, 網路服務
REF: http://www.cacti.net/downloads/docs/html/install_unix.html
tar zxvf
cd …
mysqladmin –user=dbadm create cacti -p
mysql cacti < cacti.sql -p -u dbadm
mysql –user=dbadm -p
GRANT ALL ON cacti.* TO dbadm@localhost IDENTIFIED BY ‘your-password’;
flush privileges;
cd include
vi config.php
$database_default = “cacti”;
$database_hostname = “localhost”;
$database_username = “dbadm”;
$database_password = “dbadm-passwd”;
chown -R httpd.httpd rra/ log/
mv cacti-xxx.xx /home/httpd/html/
*/5 * * * * httpd php /home/httpd/html/cacti/poller.php > /dev/null 2>&1
http://libil.dyndns.org/cacti
進入web install 程序
會出現[NOT FOUND], 要補齊
swup –install net-snmp net-snmp-utils php-cli(可獲得 /usr/bin/php)
將缺漏的補齊後, 要用 admin: admin 進入, 並強制改密碼
進入系統後, 把需要改的設定改一下, 如軟體版本(rrd 1.2.x, snmp )
11 月 29
joechen工作相關, 網路服務
Rsync over SSH
A: 被備援(丟資料) libil (Trustix Linux 3.0.5)
B: 做備援(收資料) libcy (Trustix Linux 3.0.5)
準備工作
vi /etc/ssh/sshd_config
把 PermitRoot 改成 foced-command-only
libcy 啟動 rsync 服務(不用在防火牆上開 873的port)
主機帳戶以root執行
(用其他的, 應該也行, 因為 /etc/rsync.conf 裡面會定義 uid & gid)
先到 libcy 上
安裝 rsync-server 軟體
swup –install rsync-server rsync
# vi /etc/rsync.conf
—- top of the file —-
transfer logging = yes
log file = /var/log/rsync/rsync
pid file = /var/run/rsyncd.pid
timeout = 600
[libil]
path = /home/rsync
# auth users = rsync
auth users = linux
uid = root
gid = root
read only = no
secrets file = /etc/rsyncd.secrets
—- bottom of the file —-
# vi /etc/rsyncd.secrets
—- top of the file —-
root:pass4libil
—- bottom of the file —-
service rsyncd restart
11 月 29
joechen網路服務
參考來源:
http://openvpn.net/howto.html 的 “Using Shared Object or DLL Plugins”
以 pam 認證方式
[Server]
原先的設定不變,再加上
plugin /etc/openvpn/openvpn-auth-pam.so samba (或 login)
client-cert-not-required
然後 重跑 OpenVPN
此時若是啟動有問題, 可能是 pam-devel 這個套件沒有安裝, 會造成 openvpn-auth-pam.so 在呼叫 pam 關聯時發生錯誤, 記得要安裝 pam-devel
新增使用者: user1
useradd -m user1
為 user1 設密碼
passwd user1
[Client]
原本的設定檔, 則要將以下兩行註解掉,
cert openvpn-xxx.crt
key openvpn-xxx.key
並加入以下這行, 才行使用客戶端的 openvpn 在啟用時, 會跳出帳密詢問框, 以供輸入,
auth-user-pass
11 月 28
joechen作業系統, 工作相關, 網路服務
REF: http://blog.candyz.org/20070904/1536
# Firewall configuration written by system-config-securitylevel
# Manual customization of this file is not recommended.
*filter
:INPUT ACCEPT [0:0]
:FORWARD ACCEPT [0:0]
:OUTPUT ACCEPT [0:0]
:RH-Firewall-1-INPUT – [0:0]
-A INPUT -j RH-Firewall-1-INPUT
-A RH-Firewall-1-INPUT -i lo -j ACCEPT
-A RH-Firewall-1-INPUT -p icmp –icmp-type any -j ACCEPT
-A RH-Firewall-1-INPUT -p 50 -j ACCEPT
-A RH-Firewall-1-INPUT -p 51 -j ACCEPT
-A RH-Firewall-1-INPUT -p udp –dport 5353 -d 224.0.0.251 -j ACCEPT
-A RH-Firewall-1-INPUT -p udp -m udp –dport 631 -j ACCEPT
-A RH-Firewall-1-INPUT -p tcp -m tcp –dport 631 -j ACCEPT
-A RH-Firewall-1-INPUT -m state –state ESTABLISHED,RELATED -j ACCEPT
-A RH-Firewall-1-INPUT -m state –state NEW -m tcp -p tcp –dport 1194 -j ACCEPT
-A RH-Firewall-1-INPUT -m state –state NEW -m tcp -p tcp –dport 3128 -j ACCEPT
-A RH-Firewall-1-INPUT -m state –state NEW -m tcp -p tcp –dport 22 -j ACCEPT
-A RH-Firewall-1-INPUT -j REJECT –reject-with icmp-host-prohibited
#-A FORWARD -j REJECT –reject-with icmp-host-prohibited
-A FORWARD -j ACCEPT
COMMIT
*nat
:PREROUTING ACCEPT [491:43530]
:POSTROUTING ACCEPT [2:120]
:OUTPUT ACCEPT [43:3236]
-A POSTROUTING -s 192.168.203.0/255.255.255.0 -j MASQUERADE
COMMIT
11 月 28
joechen網路服務
http://www.linuxsir.org/bbs/lastpostinthread316510.html

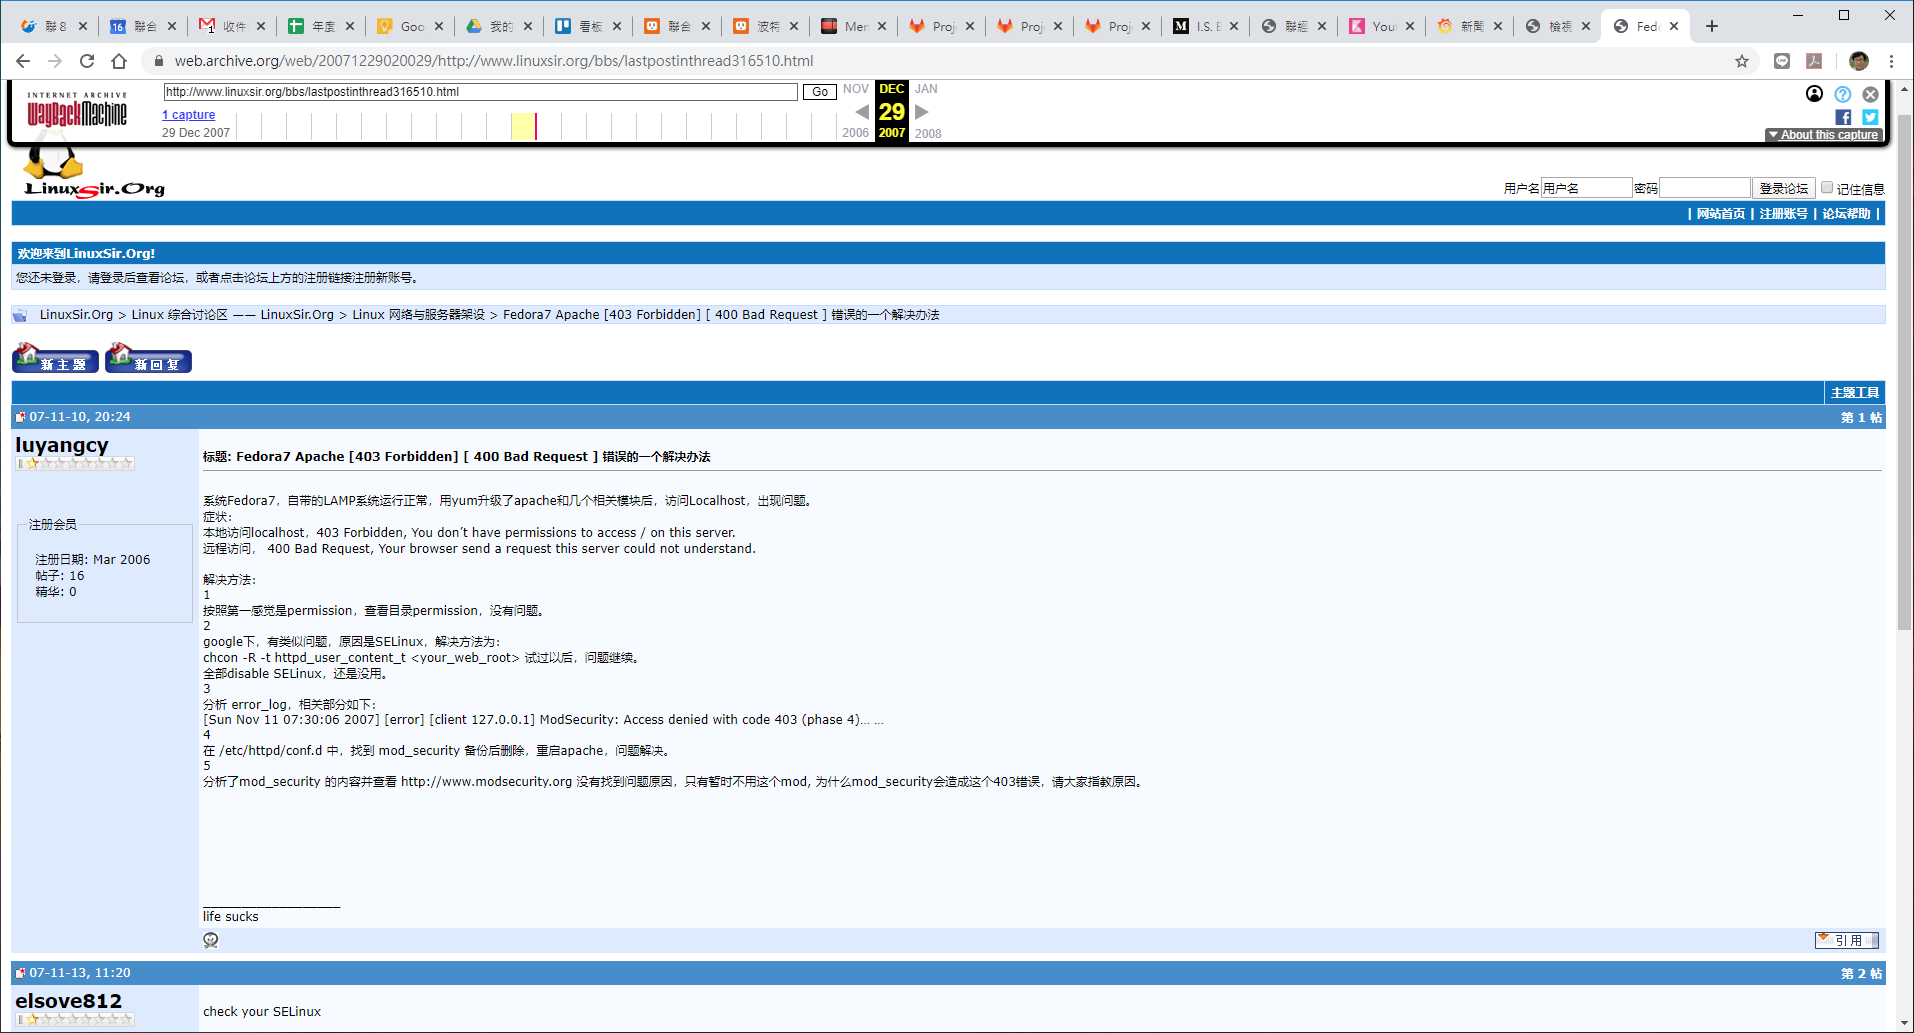
/etc/httpd/conf.d 移除 mod_security 即可解決。
— 以下引原連結, 為免網址失連 —
系统Fedora7,自带的LAMP系统运行正常,用yum升级了apache和几个相关模块后,访问Localhost,出现问题。
症状:
本地访问localhost,403 Forbidden, You don’t have permissions to access / on this server.
远程访问, 400 Bad Request, Your browser send a request this server could not understand.
解决方法:
1
按照第一感觉是permission,查看目录permission,没有问题。
2
google下,有类似问题,原因是SELinux,解决方法为:
chcon -R -t httpd_user_content_t <your_web_root> 试过以后,问题继续。
全部disable SELinux,还是没用。
3
分析 error_log,相关部分如下:
[Sun Nov 11 07:30:06 2007] [error] [client 127.0.0.1] ModSecurity: Access denied with code 403 (phase 4)… …
4
在 /etc/httpd/conf.d 中,找到 mod_security 备份后删除,重启apache,问题解决。
5
分析了mod_security 的内容并查看 http://www.modsecurity.org 没有找到问题原因,只有暂时不用这个mod, 为什么mod_security会造成这个403错误,请大家指教原因。
11 月 19
joechen作業系統
先前在一次偶然的機會下, 不小心安裝到了 PCTools 這個廣告病毒, 對於平常不常遇到木馬的我, 花了好長時間來處理掉它。
一開始被 Avast抓到, 卻怎麼也掃不掉, 後來發現它藏在登錄檔下的 HKCRCLSID 下的某個登錄碼裡(叫 Info Cache), 技術不如人的我, 怎麼也不知該如何處理, 它明明隱身在裡面。
每每由另一套 windows 系統進入後, 去掃原系統的 pagefiles 檔, 就都會找到這個木馬(雖然它的執行檔已經被砍掉, 但登錄檔裡還有它), 木馬軟體都能找到, 卻刪不掉它,
最後發現(自己太笨)執行了 regedit 後, 在該登錄碼上, 按個滑鼠右鍵 -> [使用權限] , 將該登錄碼的權限設給自己(當然是要足夠到可以刪掉它的權限), 就OK了
再去掃木馬, 就都沒看到了
 RSS
RSS