11 月 30
joechen工作相關, 網路服務
※※ 因 Fedora 10 與 OpenSIPs 的出現, 此篇文章已不具修改必要性。※※
REF: http://top12345tw.blogspot.com/2008/05/openser.html (better)
REF: http://www.hk-pub.com/forum/archiver/tid-1064603.html
website: http://www.openser.org/
download: http://ftp.upjs.sk/pub/users/sal/Fedora/7/
Files to donwload:
openser-1.2.2-10.fc7.i386.rpm
openser-mysql-1.2.2-10.fc7.i386.rpm
設定檔:
/etc/openser/openser.cfg
/etc/openser/openserctlrc
# vi /etc/openser/openser.cfg
找到以下各行文字, 並移除前頭的井字符號
# loadmodule “mysql.so”
#loadmodule “auth.so”
#loadmodule “auth_db.so”
#modparam(“usrloc”, “db_mode”, 2)
#modparam(“auth_db”, “calculate_ha1”, yes)
#modparam(“auth_db”, “password_column”, “password”)
#if (!www_authorize(“openser.org”, “subscriber”)) {
# www_challenge(“openser.org”, “0”);
# exit;
#};
(以上四行裡的 operser.org 改成你主機的 FDQN)
建立資料庫表單在 MySQL 裡
# vi /usr/sbin/openser_mysql.sh (可以先編輯這個檔案, 裡面包含了可能會使的資訊)
# /usr/sbin/openser_mysql.sh (編輯後就執行它)
可用的參數有:
usage: openser_mysql.sh create
openser_mysql.sh drop (!!entirely deletes tables)
openser_mysql.sh reinit (!!entirely deletes and than re-creates tables
openser_mysql.sh backup (dumps current database to stdout)
openser_mysql.sh restore <file> (restores tables from a file)
openser_mysql.sh copy <new_db> (creates a new db from an existing one)
openser_mysql.sh migrate <old_db> <new_db> (migrates DB from 1.1 to 1.2)
openser_mysql.sh presence (adds the presence related tables)
openser_mysql.sh extra (adds the extra tables – imc,cpl,siptrace,domainpolicy)
openser_mysql.sh serweb (adds the SERWEB specific tables)
建立環境:
export SIP_DOMAIN=your-ip.address (也可以把這行寫到 /etc/profile 裡)
建立一個資料庫給 OpenSER
# /usr/sbin/openser_mysql.sh create (然後會需要你的資料庫管理員的密碼, ex: root 的密碼)
MySQL password for root: xxxxxxxx
設定開機啟動:
chkconfig openser on
手動啟用:
service openser start
紀錄檔管理:
REF: http://www.openser.org/dokuwiki/doku.php/utils:basic-syslog-configuration
# vi openser.cfg
touch /var/log/openser
(選用)安裝管理程式 OpenSER Admin:
REF: http://www.read8.org/20080918/35617/
yum install ruby ruby-libs rubygems
http://sourceforge.net/projects/openseradmin
wget http://nchc.dl.sourceforge.net/sourceforge/openseradmin/openseradmin-0.3.tar.bz2
tar jxvf openseradmin-0.3.tar.bz2
http://lightyror.thegiive.net/2007/06/fedora-7-ruby-on-rails.html
gem i rails -y
gem install rails –include-dependencies
在 /etc/rc.local 裡加入
/var/www/oseradm/script/server -p 3000 -d
(-p 是指定 port , -d 表示以 daemon 執行)
11 月 29
joechen作業系統, 工作相關, 網路服務
REF: http://www.cacti.net/downloads/docs/html/install_unix.html
tar zxvf
cd …
mysqladmin –user=dbadm create cacti -p
mysql cacti < cacti.sql -p -u dbadm
mysql –user=dbadm -p
GRANT ALL ON cacti.* TO dbadm@localhost IDENTIFIED BY ‘your-password’;
flush privileges;
cd include
vi config.php
$database_default = “cacti”;
$database_hostname = “localhost”;
$database_username = “dbadm”;
$database_password = “dbadm-passwd”;
chown -R httpd.httpd rra/ log/
mv cacti-xxx.xx /home/httpd/html/
*/5 * * * * httpd php /home/httpd/html/cacti/poller.php > /dev/null 2>&1
http://libil.dyndns.org/cacti
進入web install 程序
會出現[NOT FOUND], 要補齊
swup –install net-snmp net-snmp-utils php-cli(可獲得 /usr/bin/php)
將缺漏的補齊後, 要用 admin: admin 進入, 並強制改密碼
進入系統後, 把需要改的設定改一下, 如軟體版本(rrd 1.2.x, snmp )
11 月 29
joechen工作相關, 網路服務
Rsync over SSH
A: 被備援(丟資料) libil (Trustix Linux 3.0.5)
B: 做備援(收資料) libcy (Trustix Linux 3.0.5)
準備工作
vi /etc/ssh/sshd_config
把 PermitRoot 改成 foced-command-only
libcy 啟動 rsync 服務(不用在防火牆上開 873的port)
主機帳戶以root執行
(用其他的, 應該也行, 因為 /etc/rsync.conf 裡面會定義 uid & gid)
先到 libcy 上
安裝 rsync-server 軟體
swup –install rsync-server rsync
# vi /etc/rsync.conf
—- top of the file —-
transfer logging = yes
log file = /var/log/rsync/rsync
pid file = /var/run/rsyncd.pid
timeout = 600
[libil]
path = /home/rsync
# auth users = rsync
auth users = linux
uid = root
gid = root
read only = no
secrets file = /etc/rsyncd.secrets
—- bottom of the file —-
# vi /etc/rsyncd.secrets
—- top of the file —-
root:pass4libil
—- bottom of the file —-
service rsyncd restart
11 月 29
joechen網路服務
參考來源:
http://openvpn.net/howto.html 的 “Using Shared Object or DLL Plugins”
以 pam 認證方式
[Server]
原先的設定不變,再加上
plugin /etc/openvpn/openvpn-auth-pam.so samba (或 login)
client-cert-not-required
然後 重跑 OpenVPN
此時若是啟動有問題, 可能是 pam-devel 這個套件沒有安裝, 會造成 openvpn-auth-pam.so 在呼叫 pam 關聯時發生錯誤, 記得要安裝 pam-devel
新增使用者: user1
useradd -m user1
為 user1 設密碼
passwd user1
[Client]
原本的設定檔, 則要將以下兩行註解掉,
cert openvpn-xxx.crt
key openvpn-xxx.key
並加入以下這行, 才行使用客戶端的 openvpn 在啟用時, 會跳出帳密詢問框, 以供輸入,
auth-user-pass
11 月 28
joechen作業系統, 工作相關, 網路服務
REF: http://blog.candyz.org/20070904/1536
# Firewall configuration written by system-config-securitylevel
# Manual customization of this file is not recommended.
*filter
:INPUT ACCEPT [0:0]
:FORWARD ACCEPT [0:0]
:OUTPUT ACCEPT [0:0]
:RH-Firewall-1-INPUT – [0:0]
-A INPUT -j RH-Firewall-1-INPUT
-A RH-Firewall-1-INPUT -i lo -j ACCEPT
-A RH-Firewall-1-INPUT -p icmp –icmp-type any -j ACCEPT
-A RH-Firewall-1-INPUT -p 50 -j ACCEPT
-A RH-Firewall-1-INPUT -p 51 -j ACCEPT
-A RH-Firewall-1-INPUT -p udp –dport 5353 -d 224.0.0.251 -j ACCEPT
-A RH-Firewall-1-INPUT -p udp -m udp –dport 631 -j ACCEPT
-A RH-Firewall-1-INPUT -p tcp -m tcp –dport 631 -j ACCEPT
-A RH-Firewall-1-INPUT -m state –state ESTABLISHED,RELATED -j ACCEPT
-A RH-Firewall-1-INPUT -m state –state NEW -m tcp -p tcp –dport 1194 -j ACCEPT
-A RH-Firewall-1-INPUT -m state –state NEW -m tcp -p tcp –dport 3128 -j ACCEPT
-A RH-Firewall-1-INPUT -m state –state NEW -m tcp -p tcp –dport 22 -j ACCEPT
-A RH-Firewall-1-INPUT -j REJECT –reject-with icmp-host-prohibited
#-A FORWARD -j REJECT –reject-with icmp-host-prohibited
-A FORWARD -j ACCEPT
COMMIT
*nat
:PREROUTING ACCEPT [491:43530]
:POSTROUTING ACCEPT [2:120]
:OUTPUT ACCEPT [43:3236]
-A POSTROUTING -s 192.168.203.0/255.255.255.0 -j MASQUERADE
COMMIT
11 月 28
joechen網路服務
http://www.linuxsir.org/bbs/lastpostinthread316510.html

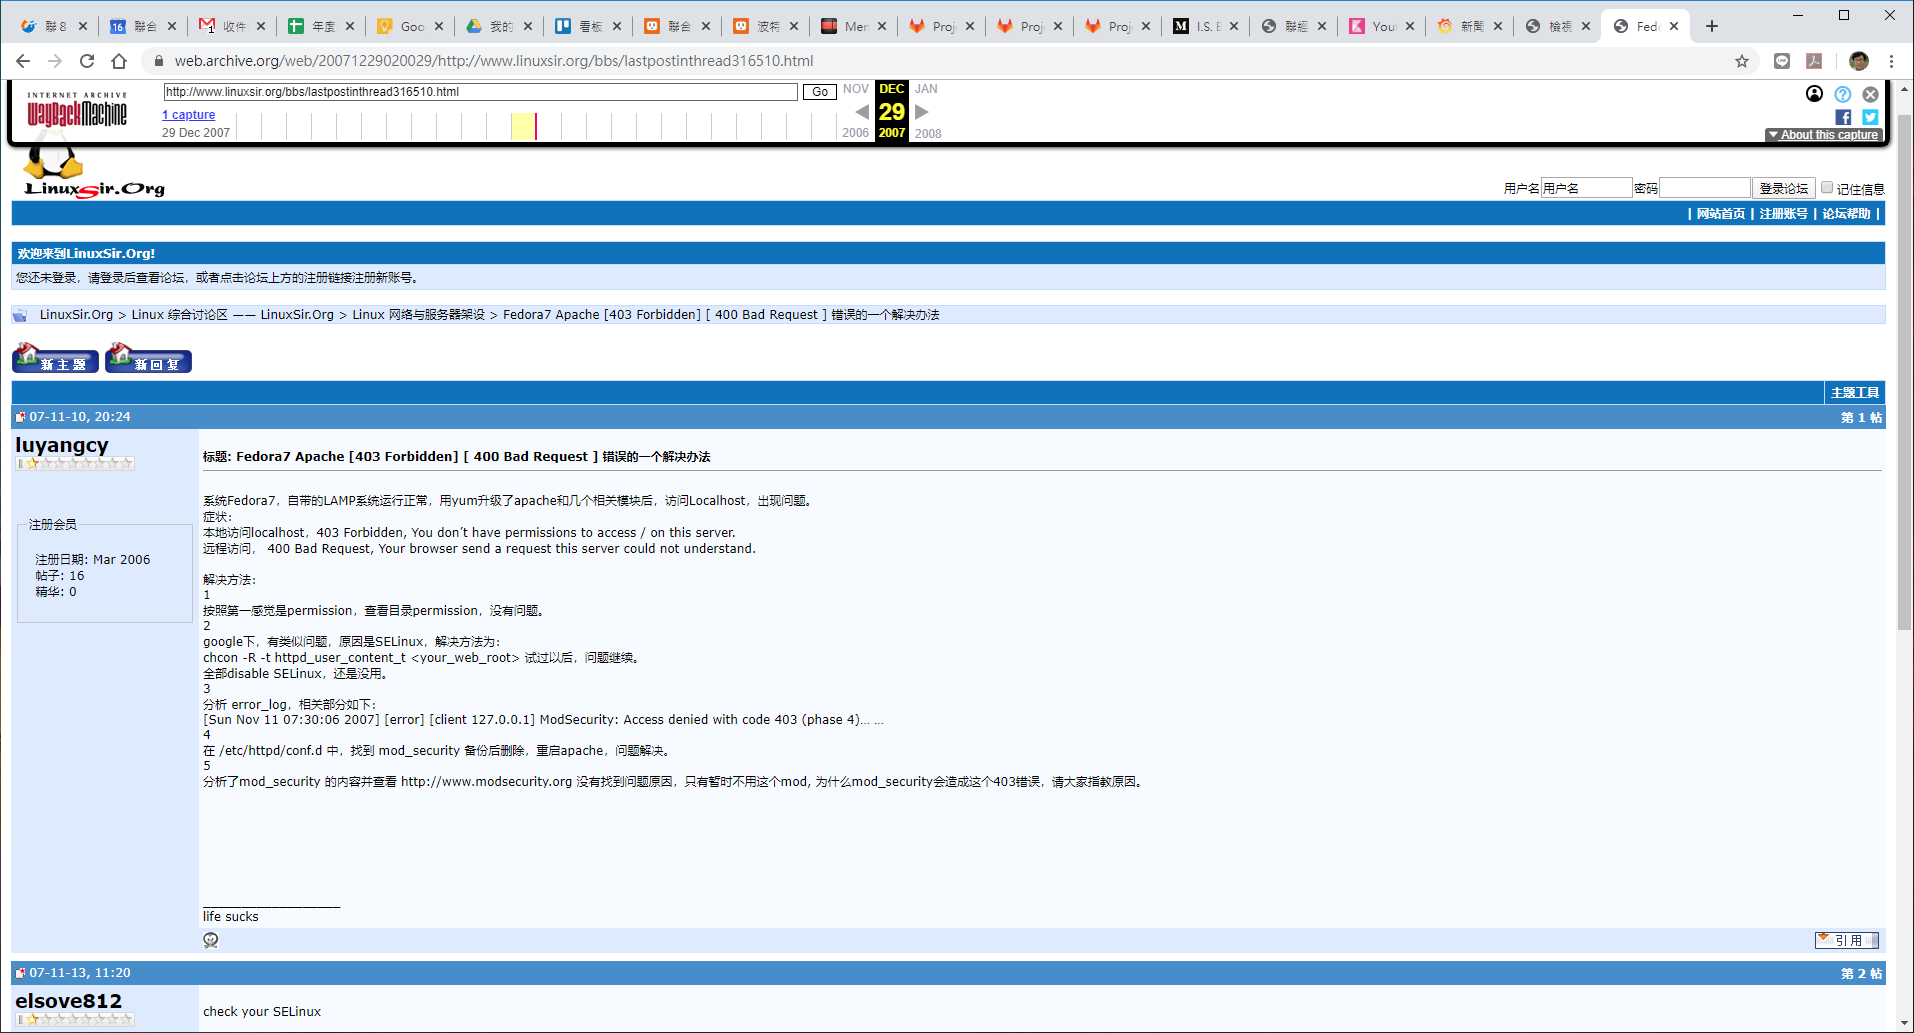
/etc/httpd/conf.d 移除 mod_security 即可解決。
— 以下引原連結, 為免網址失連 —
系统Fedora7,自带的LAMP系统运行正常,用yum升级了apache和几个相关模块后,访问Localhost,出现问题。
症状:
本地访问localhost,403 Forbidden, You don’t have permissions to access / on this server.
远程访问, 400 Bad Request, Your browser send a request this server could not understand.
解决方法:
1
按照第一感觉是permission,查看目录permission,没有问题。
2
google下,有类似问题,原因是SELinux,解决方法为:
chcon -R -t httpd_user_content_t <your_web_root> 试过以后,问题继续。
全部disable SELinux,还是没用。
3
分析 error_log,相关部分如下:
[Sun Nov 11 07:30:06 2007] [error] [client 127.0.0.1] ModSecurity: Access denied with code 403 (phase 4)… …
4
在 /etc/httpd/conf.d 中,找到 mod_security 备份后删除,重启apache,问题解决。
5
分析了mod_security 的内容并查看 http://www.modsecurity.org 没有找到问题原因,只有暂时不用这个mod, 为什么mod_security会造成这个403错误,请大家指教原因。
8 月 30
joechen工作相關, 網路服務
REF: http://www.cacti.net/downloads/docs/html/install_unix.html
tar zxvf
cd …
mysqladmin –user=dbadm create cacti -p
mysql cacti < cacti.sql -p -u dbadm
mysql –user=dbadm -p
GRANT ALL ON cacti.* TO dbadm@localhost IDENTIFIED BY ‘dbadm-passwd’;
flush privileges;
cd include
vi config.php
$database_default = “cacti”;
$database_hostname = “localhost”;
$database_username = “dbadm”;
$database_password = “dbadm-passwd”;
chown -R httpd.httpd rra/ log/
mv cacti-xxx.xx /home/httpd/html/
*/5 * * * * httpd php /home/httpd/html/cacti/poller.php > /dev/null 2>&1
http://libil.dyndns.org/cacti
進入web install 程序
會出現[NOT FOUND], 要補齊
swup –install net-snmp net-snmp-utils php-cli(可獲得 /usr/bin/php)
將缺漏的補齊後, 要用 admin: admin 進入, 並強制改密碼
進入系統後, 把需要改的設定改一下, 如軟體版本(rrd 1.2.x, snmp )
Older Entries
 RSS
RSS